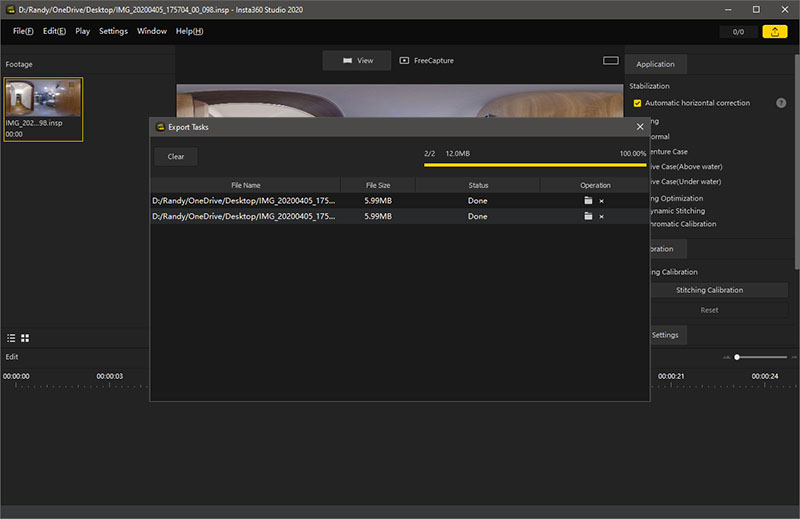
Insta360 is a manufacturer of excellent 360 photos. However, instead of using the widely accepted and common JPG type files, Insta360 developed their own proprietary file format called INSP. This may seem like a problem when using their photos with any platforms including Panopedia, Thankfully they have also released their own Insta360 Studio that helps to convert these to JPG formats.
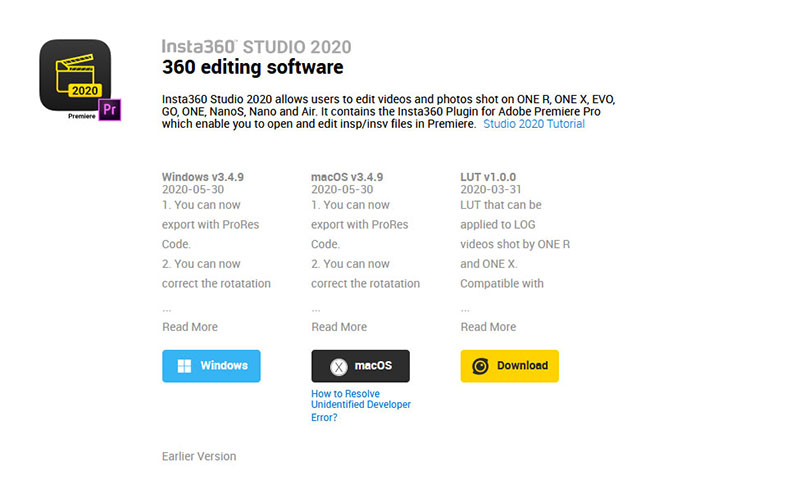
To get started, head on over to https://www.insta360.com/download, under the list of cameras, choose your model to download and install Insta360 Studio 2020.
Step 1
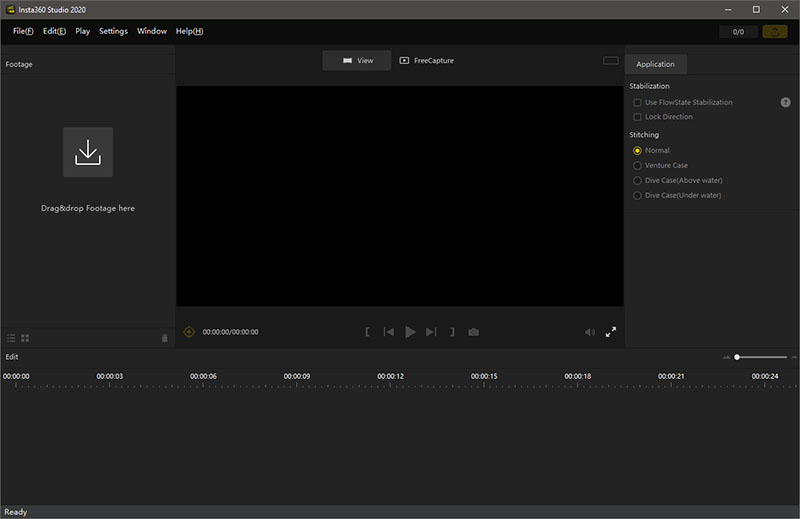
After you are done installing Insta360 Studio, open it. On the left column, you can see Drag&drop Footage here. You may drag and drop from your folder, or click on it to select the Insta360 files.
Step 2
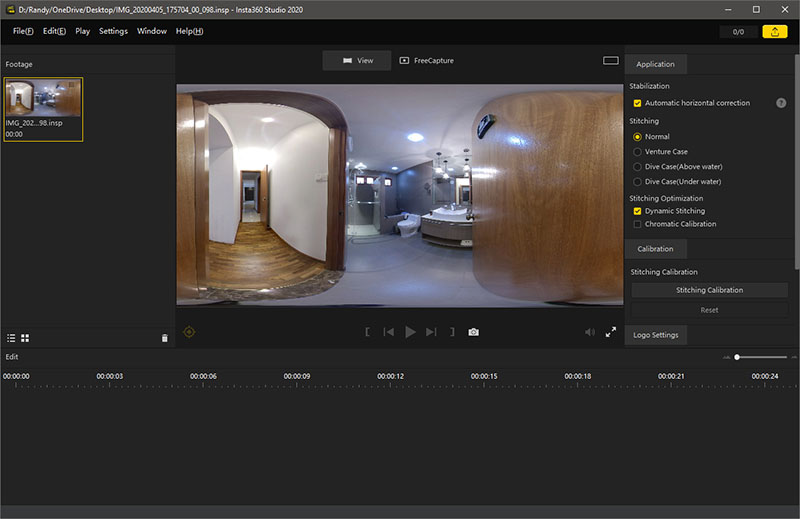
Once you have dropped the files within, you will be able to see them in the column. Press Shift and click on them to select all of them. When they are all selected, you will be able to see a yellow border around each one. Click on File(F) on the top menu, and click on Export(B).
Step 3
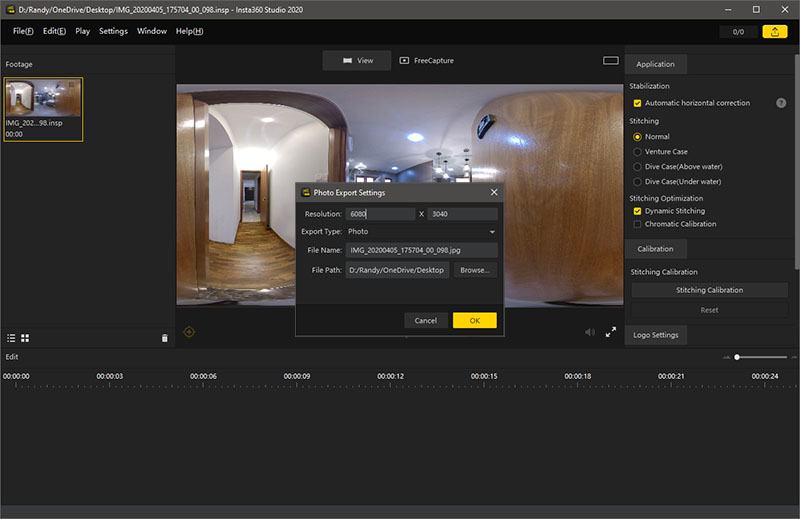
A dialog will appear, under File Name, make sure it ends with .jpg. Once all of these is confirmed, just click on OK.
Step 4
The export process will run, and once it’s all done, you may proceed to create your 360 Panotour on Panopedia.
