

The invention of 360 Cameras is considered a god send, given how easy it is to use and the quality of the photo it provides. For the pro or zealous photo enthusiast, these raw shot quality will always fall short and inapt in their eyes. That is why we created this simple tutorial for the beginners to teach them about post photo processing. Photo editing is equivalent to a lady putting on her make up. Trying to put on her best look before the world. This tutorial gives you the basic knowledge you need to produce the best photo for your virtual tour to capture your buyer’s attention.
Now let us get into the basic terms and jargon of photography.
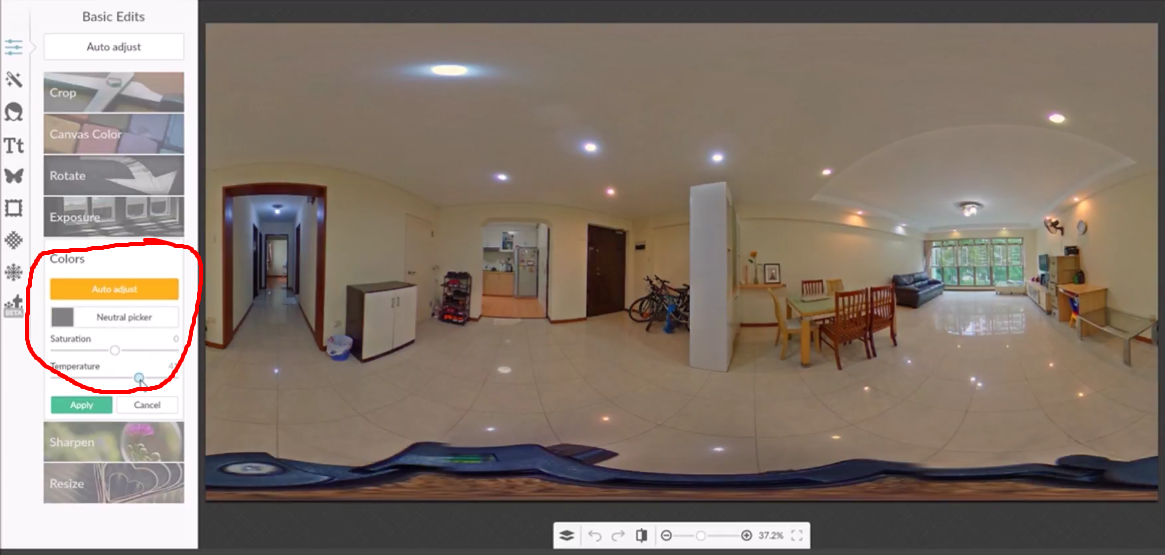
Temperature – changes the colour temperature of the photo. Usually to give a more warm effect.
Saturation – helps to enhance strength of colour
Brightness – brightness refers to the overall lightness or darkness of the image
Highlight – used for toning down exposure. Strong light from the sun will result in a white washout photo, highlight can help to tone it down.
Shadow – darken and usually applied to create beautiful shadows in photos
Contrast – is the difference in brightness between objects or regions. For example, a white rabbit running across a snowy field has poor contrast, while a black cat against the same white background has good contrast.
Sharpening – increase the sharpness significantly because unlike DSLR cameras, 360 Cameras images lack the sharpness. Sharpening works on the edges of light and dark pixels.
Clarity – adds contrast to the mid-tones of the photo. The results is in finer detail of textures. Clarity also results in lesser noise to the photo than sharpening. This is why the sharpening slider is immediately positioned before the noise reduction slider in the workflow. Notice the details in the walls between both photos below
We would be using a free online editor PICMONKEY. So go to www.picmonkey.com.
We also have a more illustrative video tutorial on photo editing and you can check it out by clicking on this link: http://bit.ly/2mFwDD5
Temperature
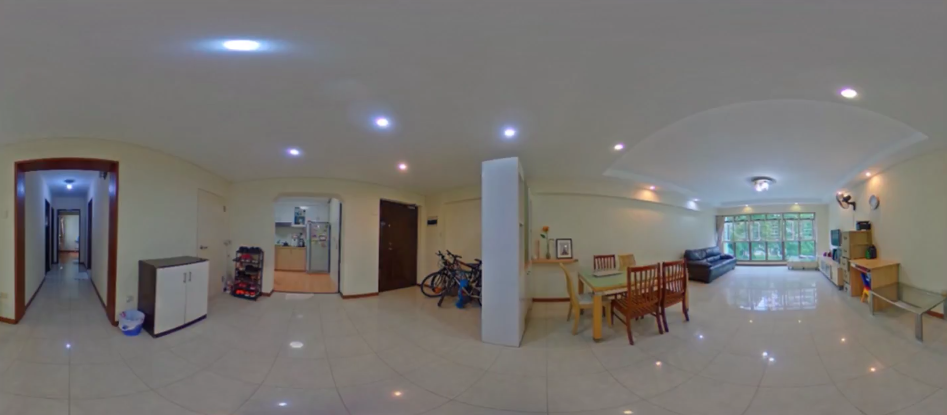
Playing with the temperature setting is one of the easiest way to transform a plain looking photo into a homey looking feel. Transformation can be drastic depending how much its applied. In the below example,
Before applying
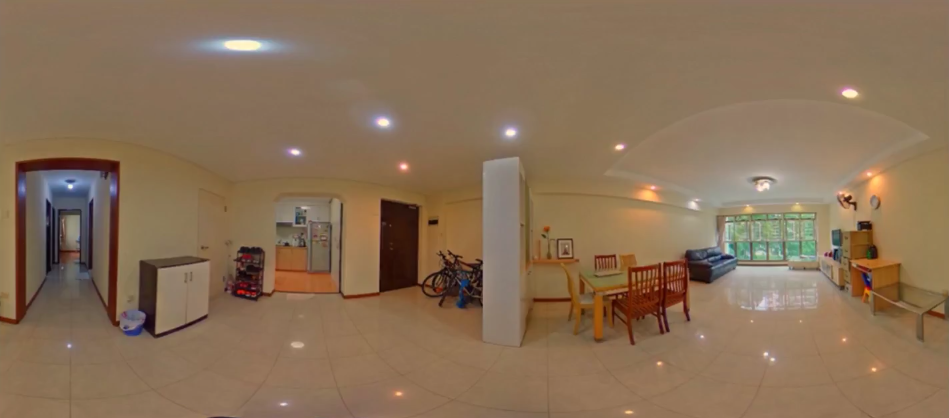
After applying
Exposure
Under the exposure tab, you will find brightness, highlight, shadow and contrast. These are the most common settings that you have probably heard of. In this example, we have brightened the picture, lowered the highlight a bit to tone down the overexposure (caused by the strong sunlight). We also increased the contrast to brighten up the objects in the photo.
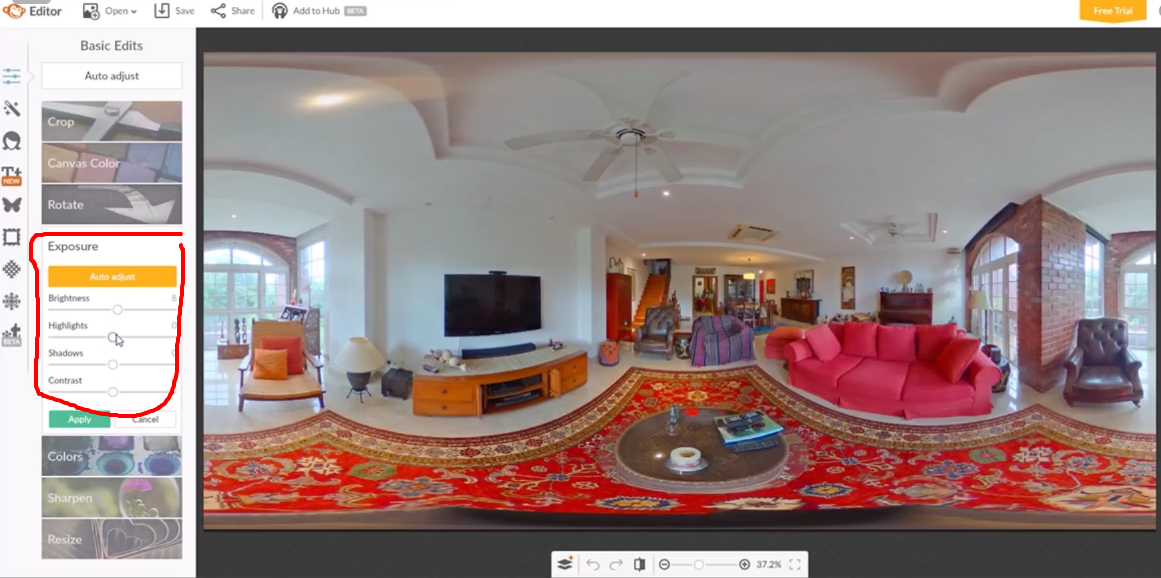
Before adjusting
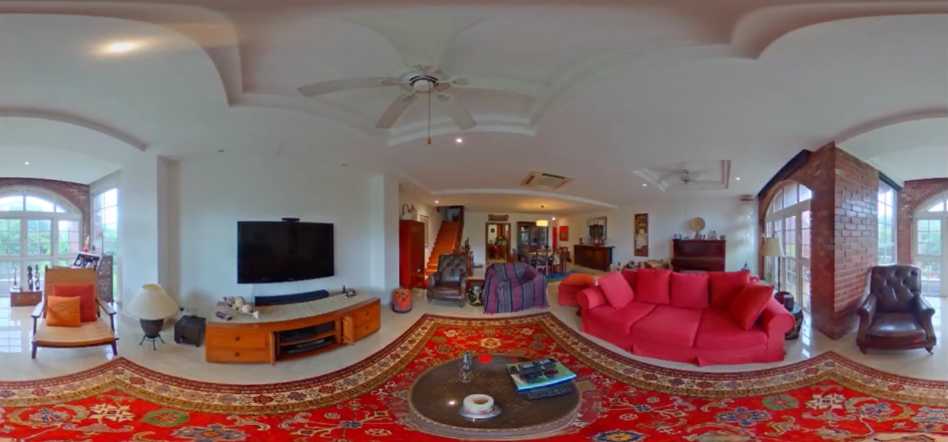
After adjusting

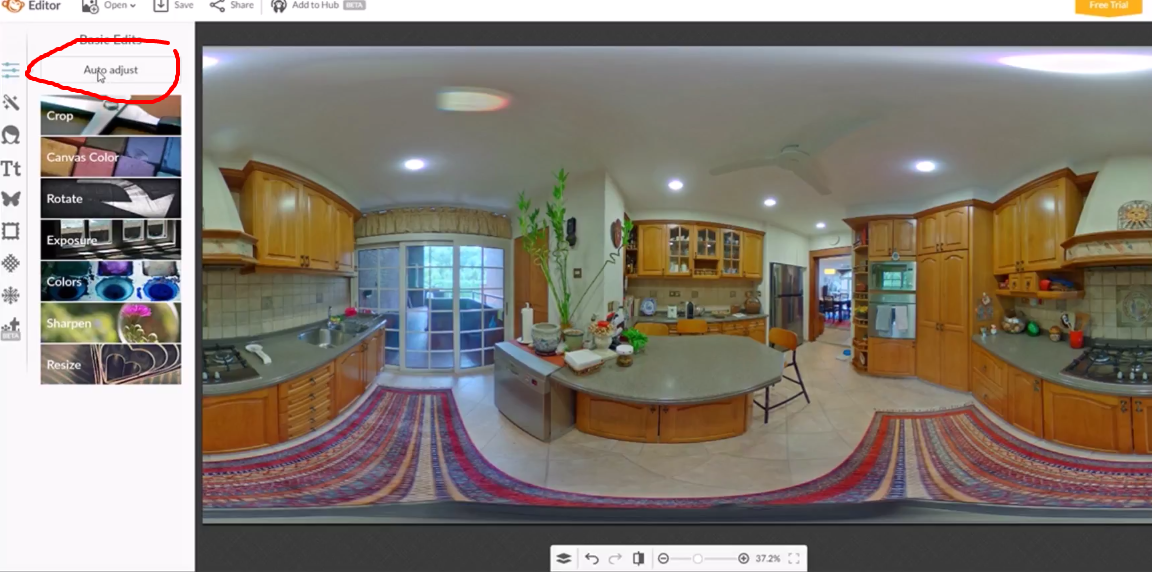
Auto Adjust
Last but not least if all this is too taxing for you, there is always a auto adjust button where the program automatically edit the photo for you. It’s a instant quick fix and we definitely recommend you to try it out.